Online shoppers can’t pick up a product, feel the fabric, or check how it fits. Photos are the only thing standing in for that experience. If the photos are blurry, poorly lit, or don’t show what the product actually looks like, shoppers leave and they usually don’t come back.
This guide covers everything you need to know about product photography: why it matters, the types of shots you need, the core skills behind a good photo, the equipment to get there, and how to prepare images for different platforms.
What Is Product Photography?
Product photography is the practice of taking pictures of products, usually for commercial use, to show what an item looks like before someone buys it. It’s used on websites, online marketplaces, social media, and ads to help customers understand a product’s shape, color, texture, and scale without seeing it in person.
The goal is to present the product clearly and accurately. Sometimes that means a simple studio setup, like a plain white background, and sometimes it means styling the product in a real-world setting. Either way, good product photography builds trust, reduces returns, and directly affects whether someone decides to buy.
Why Product Photography Matters
Good product photos aren’t just decoration. They directly affect how your store performs.
Boosts conversion rates. Clear, detailed photos help shoppers feel confident about what they’re buying, which makes them more likely to complete a purchase.
Builds customer trust. Professional-looking photos signal that a business is legitimate and takes its products seriously.
Reduces product returns. When photos accurately show size, color, and texture, customers get what they expect fewer surprises mean fewer returns.
Strengthens brand identity. Consistent lighting, backgrounds, and styling across your product photos make your store instantly recognizable.
Improves SEO. Optimized images with proper file names and alt text help your products show up in image search and improve overall page relevance.

Types of Product Photography You Need
Different shots serve different purposes. Most stores need a mix of these:
Packshots (White Background)
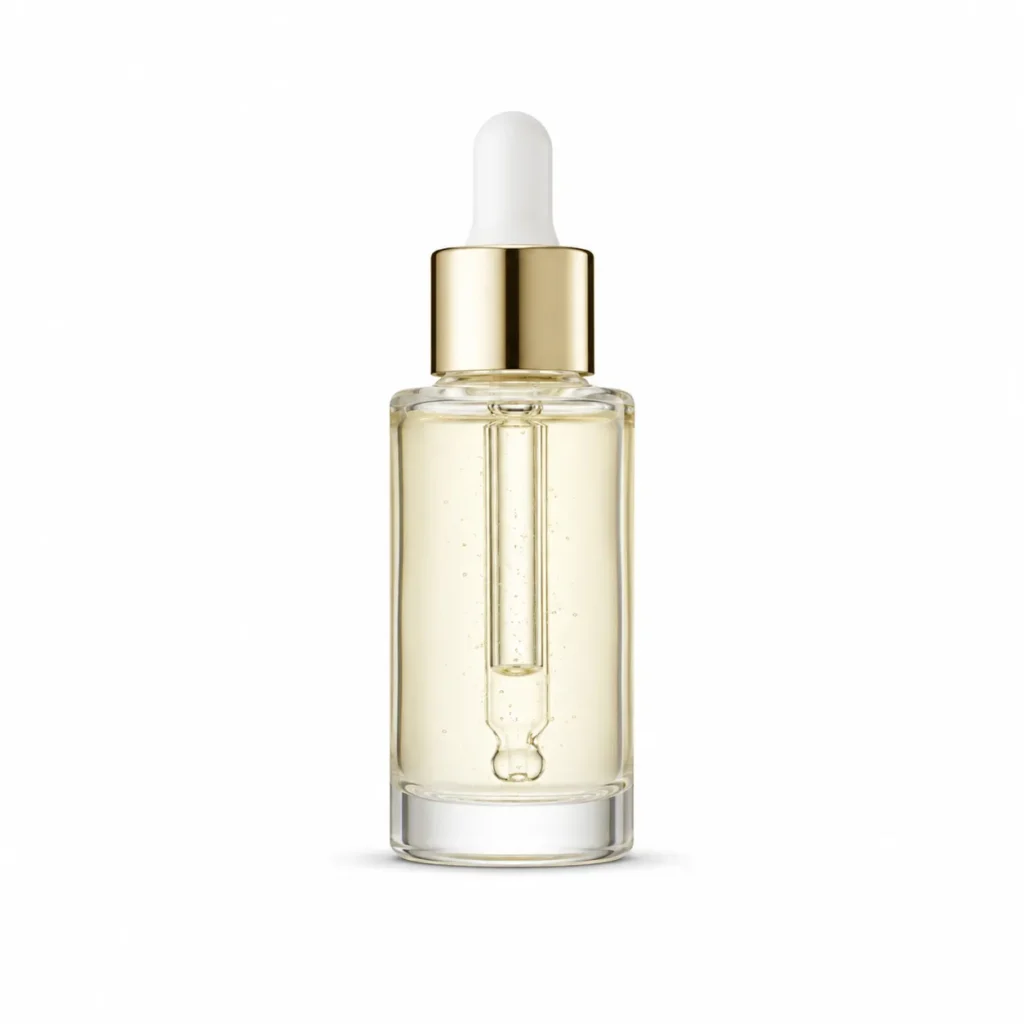
A packshot is a clean, isolated shot of the product against a plain white background. It’s the standard format for marketplaces like Amazon and for product listing pages, since it puts the full focus on the item.


Lifestyle Photos
Lifestyle shots show the product in use, in a real setting. A coffee mug on a kitchen counter or a bag being worn on someone’s shoulder helps buyers picture the product in their own life.


Detail & Close-up Shots
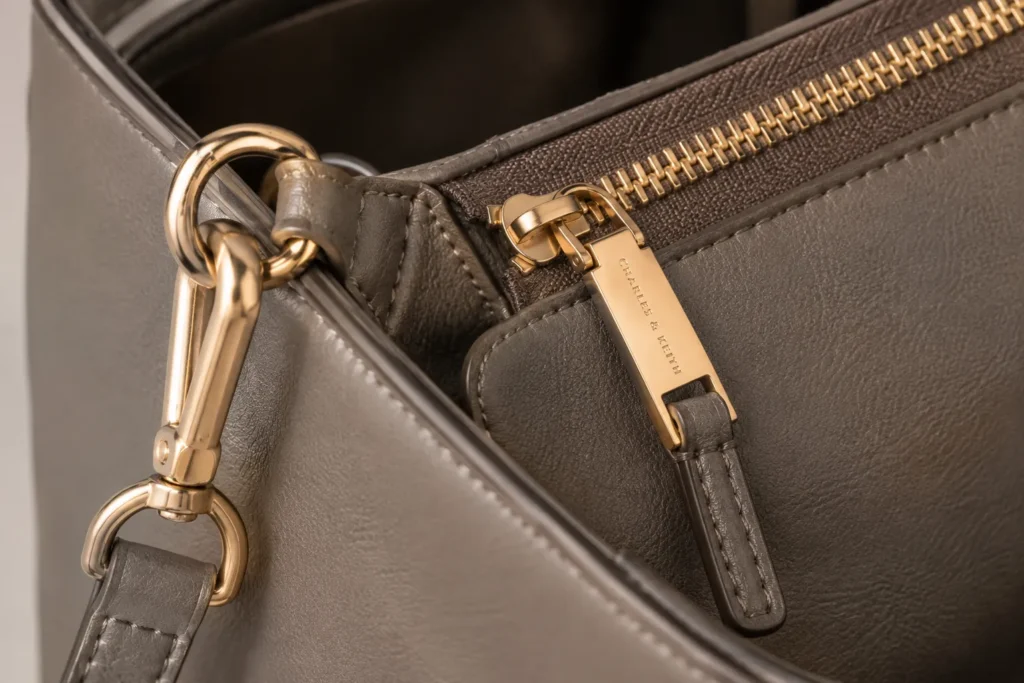
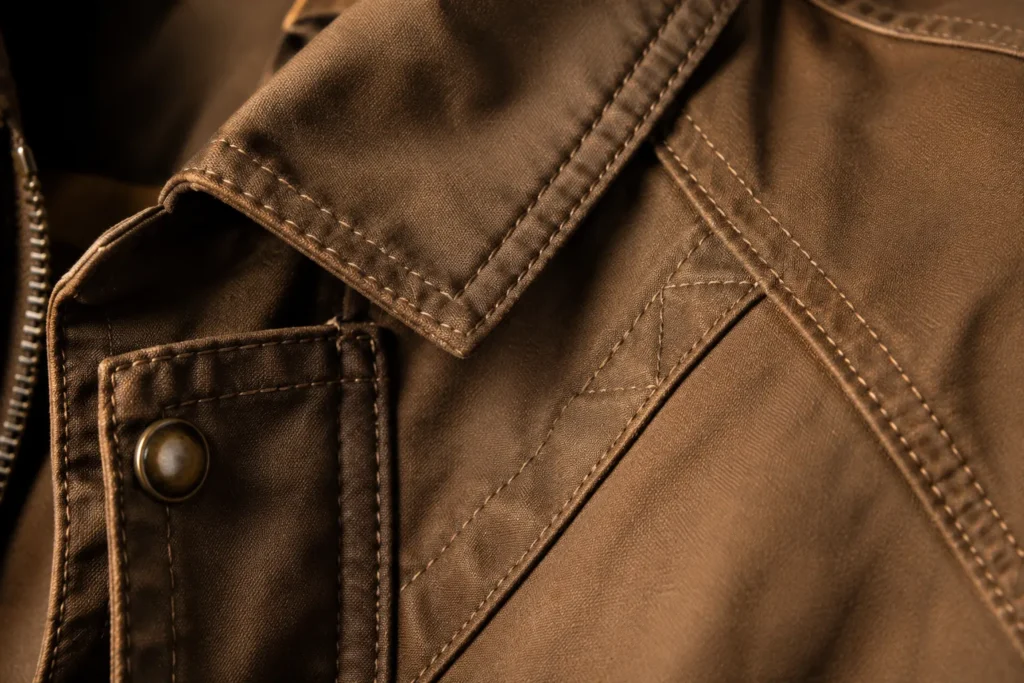
Close-ups highlight texture, material, or craftsmanship stitching on a jacket, the grain of a wood surface, or a zipper pull. These shots build trust by showing quality up close.
Group & Bundle Photos
When a product is sold as a set or with add-ons, a group photo shows everything included in one frame. This is common for skincare kits, tech accessories, and gift bundles.


360-Degree Interactive Images
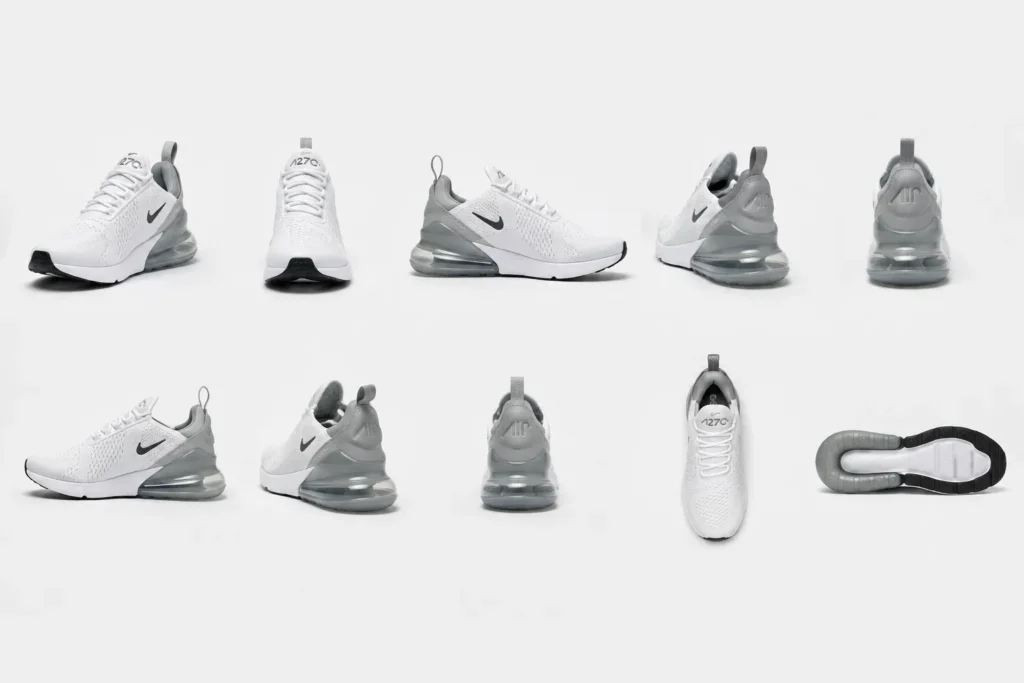
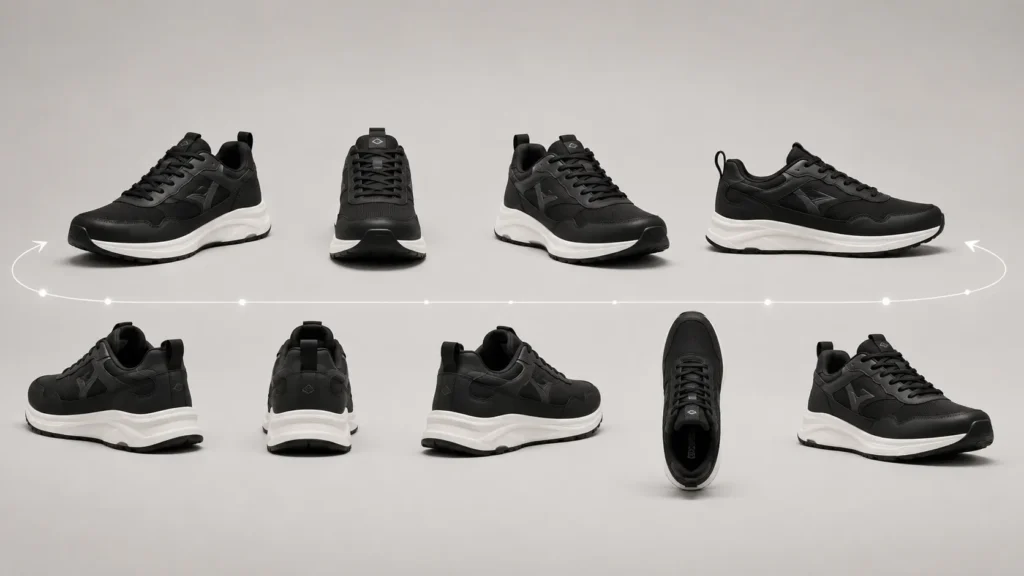
These let shoppers rotate the product on screen to view it from every angle. They work well for furniture, footwear, and electronics, where shape and detail matter.
Flat Lay (Overhead Perspective)
Flat lays are shot straight down from above, often with props arranged around the product. They’re popular for fashion, beauty, and food photography on social media.


Packaging & Unboxing Shots
These show the product’s box, labeling, and what the unboxing experience looks like. They’re useful for building anticipation and are widely used in social content and product launches.
A well-rounded product listing usually includes a packshot, at least one lifestyle shot, and a few detail shots.


The Three Pillars of Product Photography
Every good product photo comes down to three things: lighting, styling, and composition.
Lighting
Lighting has the biggest impact on how a product looks.
Natural light: Shooting near a window or outdoors gives soft, even light for free. Best used during daytime with diffused sunlight a sheer curtain or overcast sky works well to soften harsh rays. Midday sun straight overhead tends to create hard shadows, so early morning or late afternoon light is usually easier to work with.
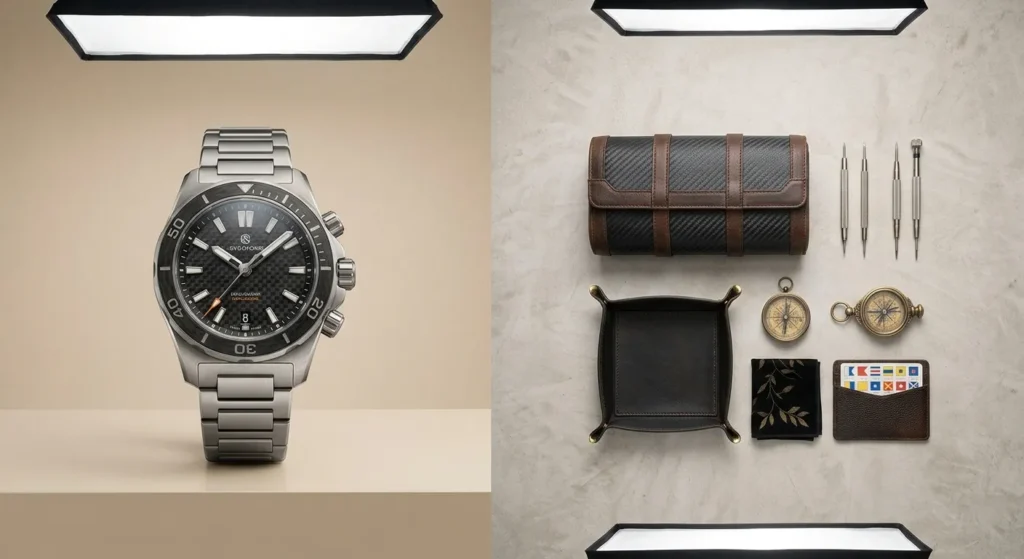
Artificial light: LED panels or strobes give you consistent, repeatable lighting regardless of time of day or weather. This matters most when you’re shooting large batches of products and need every photo to match.
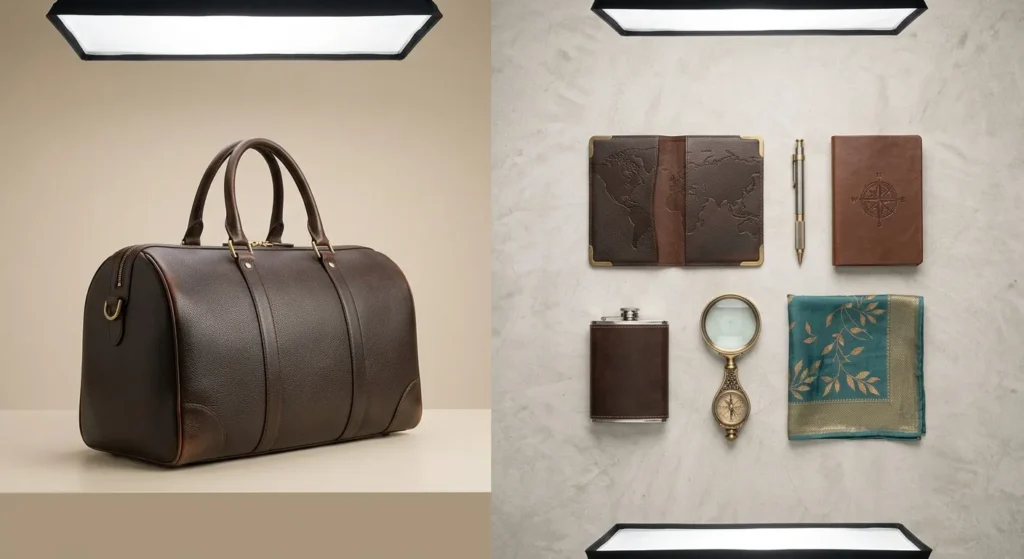
Modifiers: Diffusers soften harsh light, while reflectors bounce light back onto the product to fill in shadows. A simple white foam board can work as a reflector if you’re just starting out.
The goal is even, shadow-free lighting that shows the product’s true color and texture. Inconsistent lighting is one of the fastest ways to make a product catalog look unprofessional, even if every individual photo is technically sharp.
Styling
Styling shapes how the product is presented, not just how it’s lit.
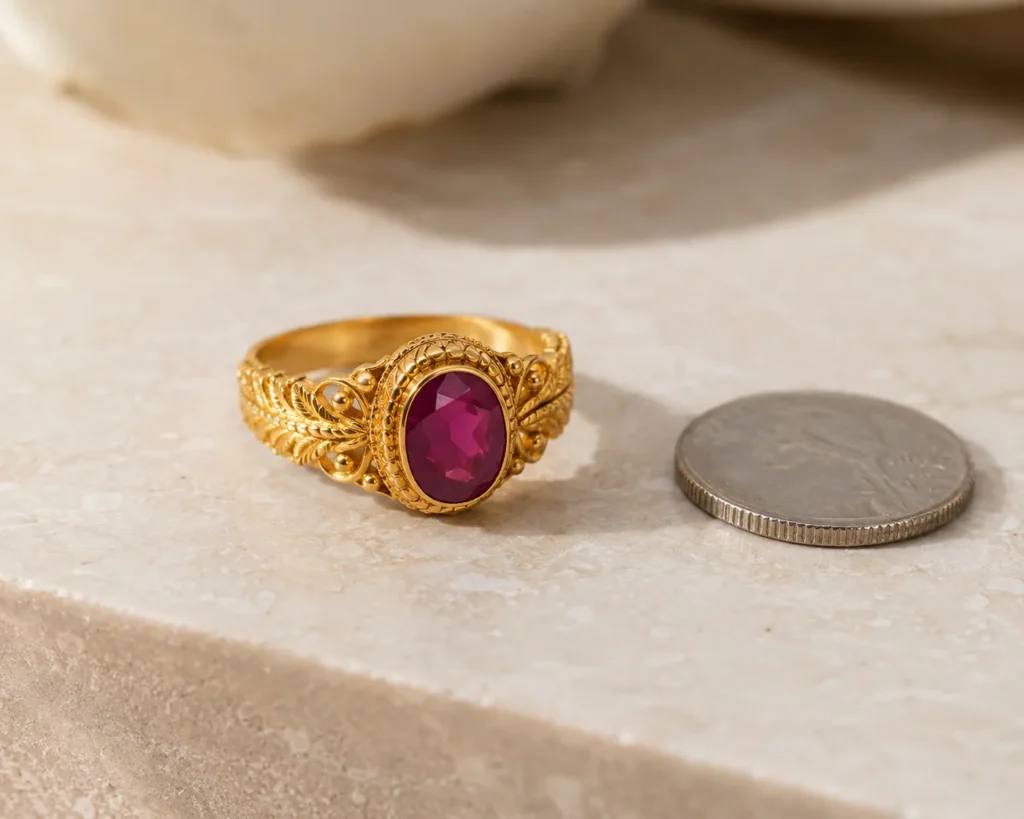
Props: Small objects placed near the product to show scale or add context for example, a coin next to jewelry to show size, or a hand modeling a ring. Keep props secondary; they should support the product, not compete with it.

Backgrounds: Neutral backgrounds (white, grey, beige) keep the focus on the product and are usually required for marketplace listings. Textured backgrounds wood, linen, marble can add personality for lifestyle shots but work best when they match your brand’s overall look.
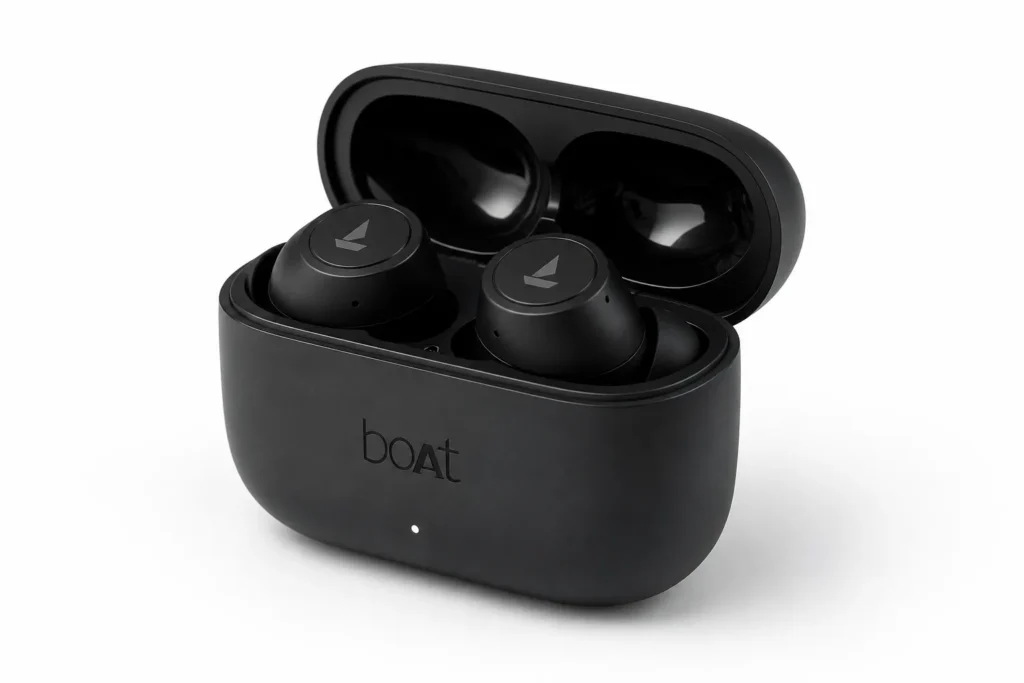

Color coordination: Matching or contrasting colors between the product, props, and background keeps the shot visually balanced. A common approach is to pick one or two accent colors and reuse them across a whole shoot, so the final set of photos feels like it belongs together.
Composition
Composition is how everything is framed within the shot
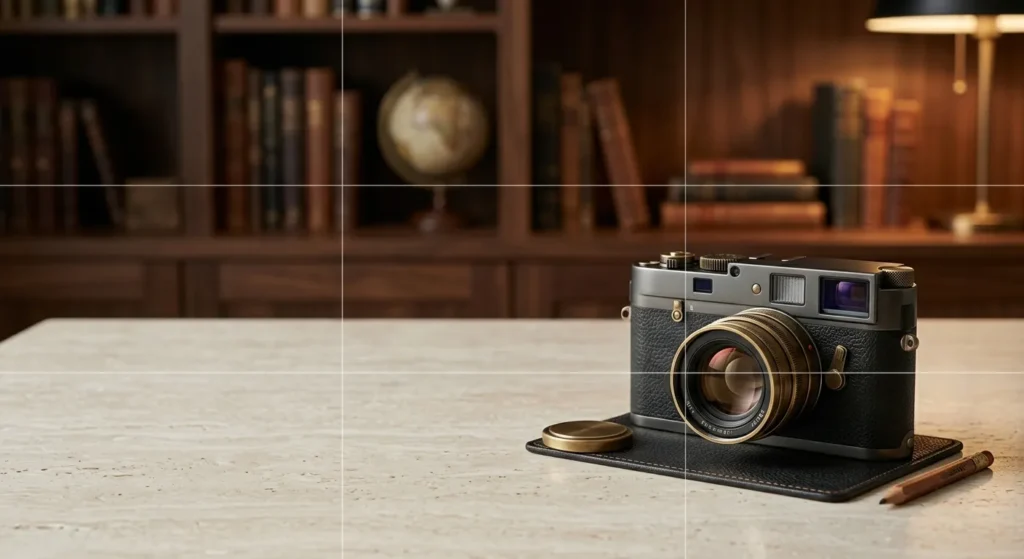
Rule of thirds
Imagine your photo frame is divided into a 3×3 grid (like a tic-tac-toe board) 2 lines going across, 2 lines going down. Instead of putting your product exactly in the middle, place it where the lines cross or along one of the lines.

Angles
Straight-on (eye-level, facing the camera directly): Best for flat products or when you want to show the product exactly as-is, with no distortion. Good for clothing hung on a rack, sarees laid flat, or a simple product shot.


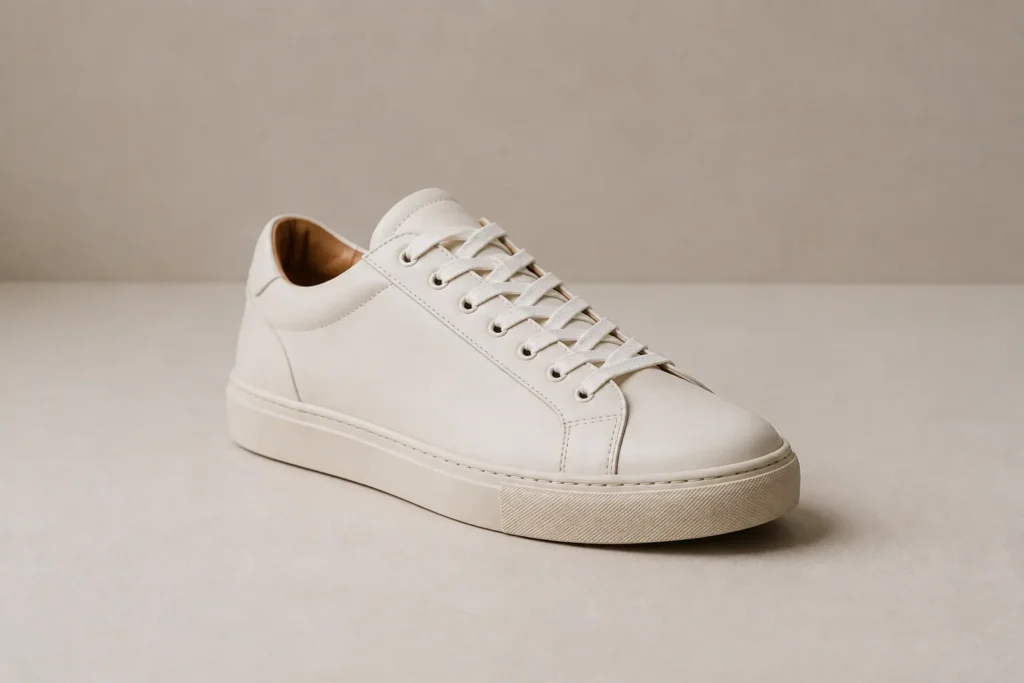
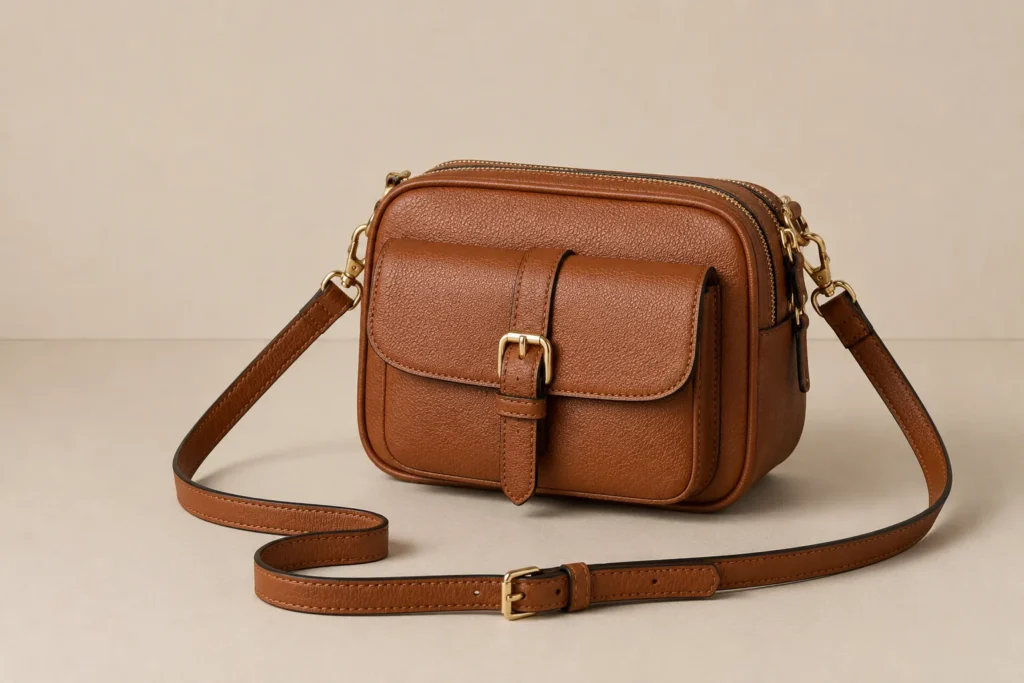
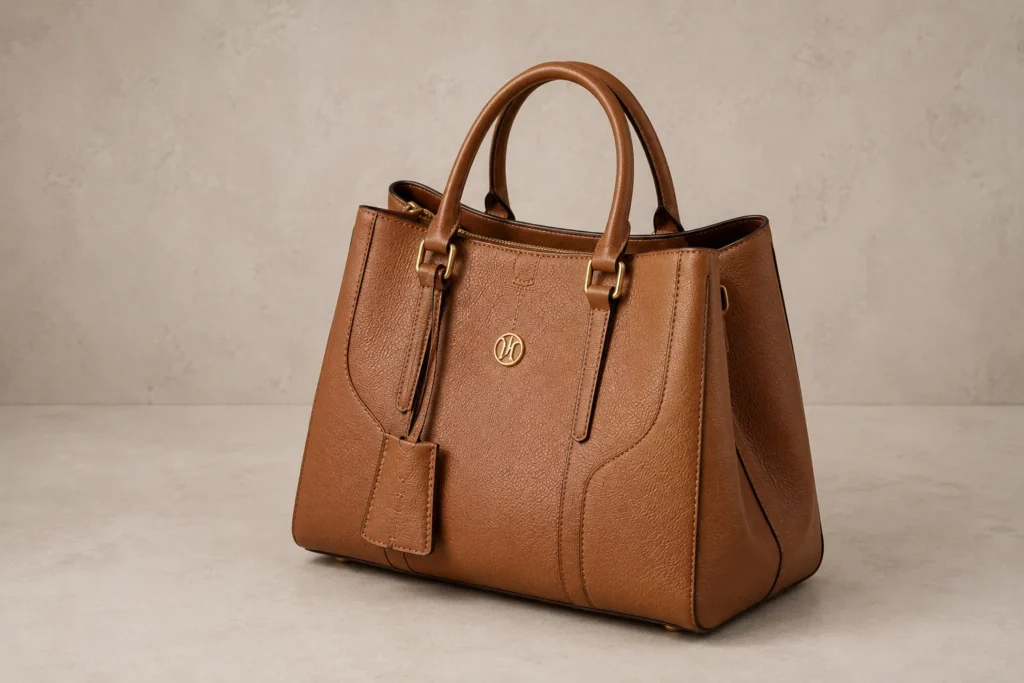
45-degree angle: The camera is tilted slightly to the side and/or slightly above the product. This shows both the front and side of the product at once, giving a sense of depth and shape. This works great for shoes, bags, jewelry, or 3D objects anything where you want the viewer to understand its form, not just its front.

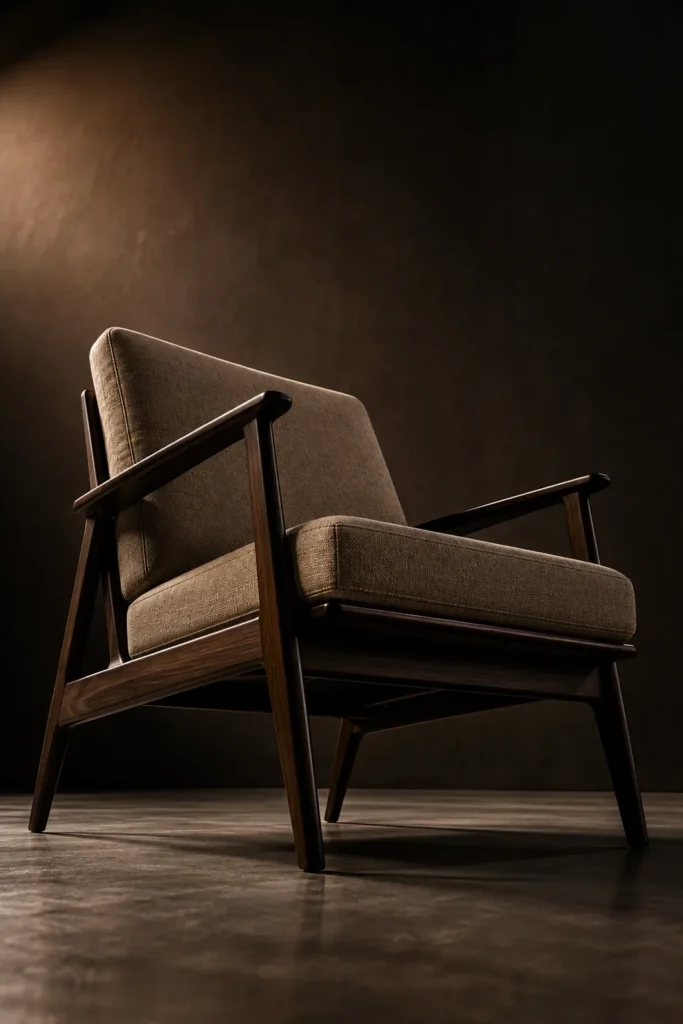
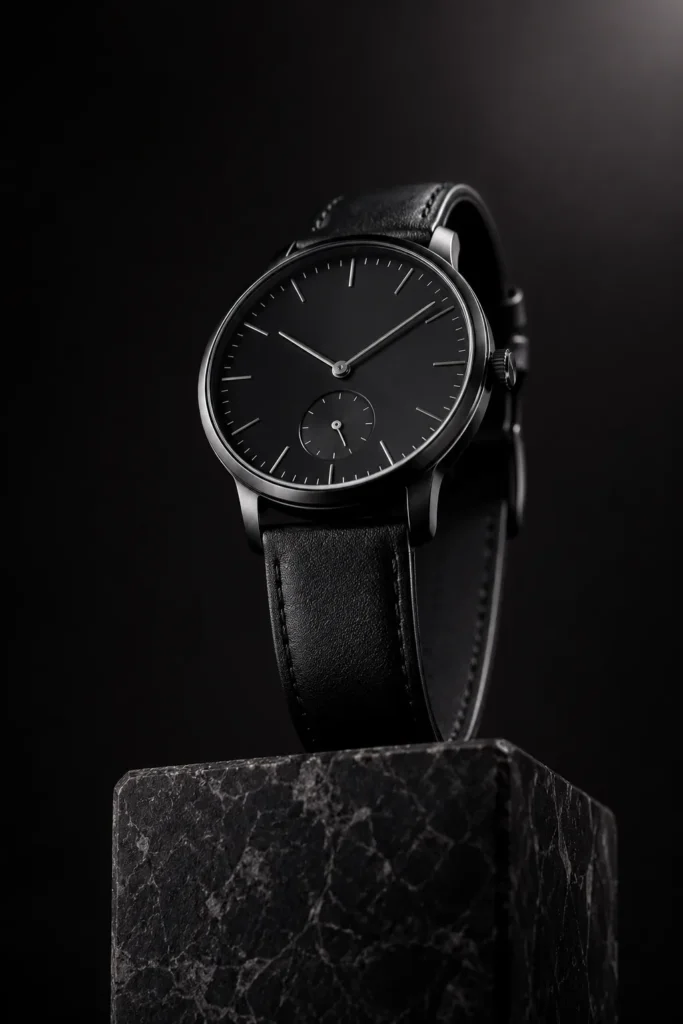
Low angle (camera below the product, looking up): Makes the product look bigger, taller, or more powerful/premium. Often used for luxury or “hero” shots.
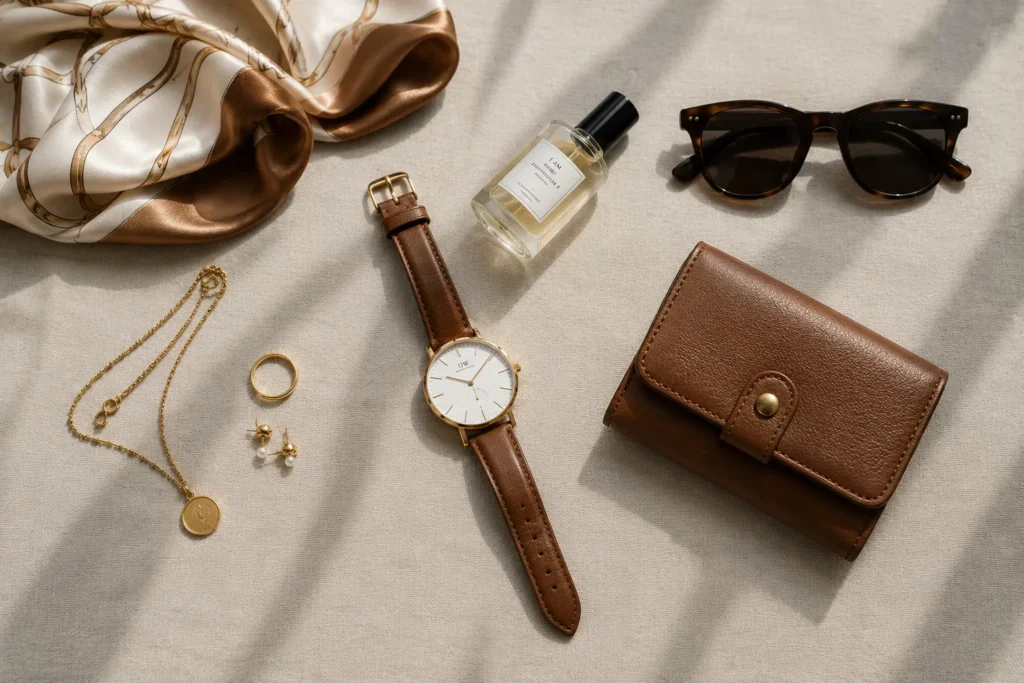
Overhead / flat lay (camera directly above, looking down): Best for flat items like clothing spread out, accessories arranged together, or “get ready with me” style shots. Common in fashion and lifestyle content.
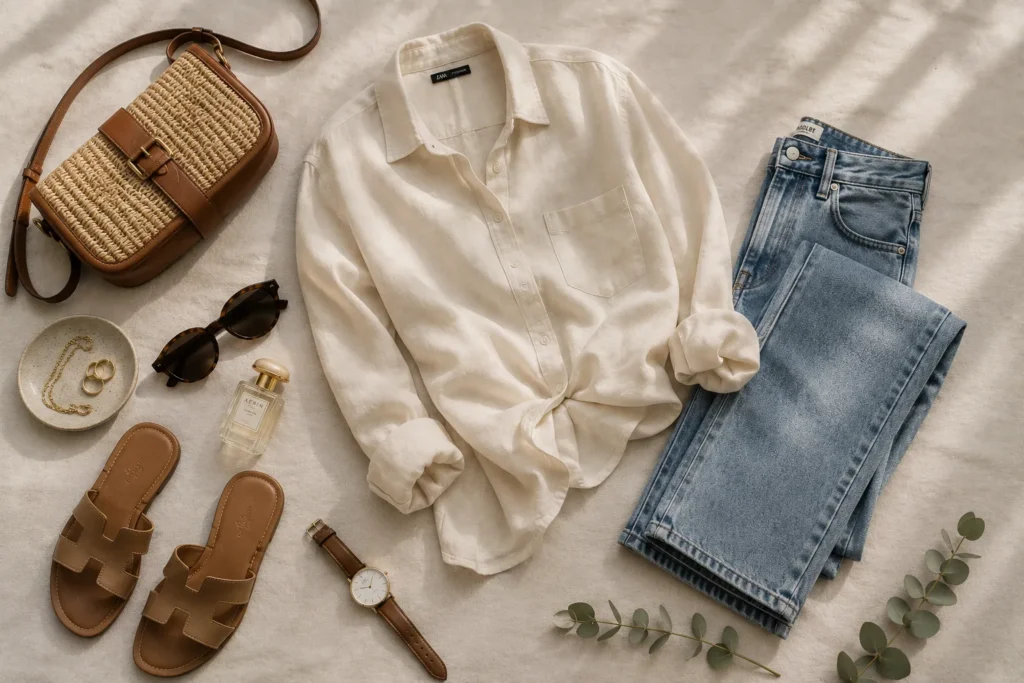
Simple rule of thumb: If the product’s beauty is in its shape (like a shoe or a bag), use 45-degree or angled shots. If the product is flat (like fabric, a saree, or a poster), shoot it straight-on or from directly above.
Depth of field
What it means: This is about how much of the photo is sharp/in-focus versus blurry.
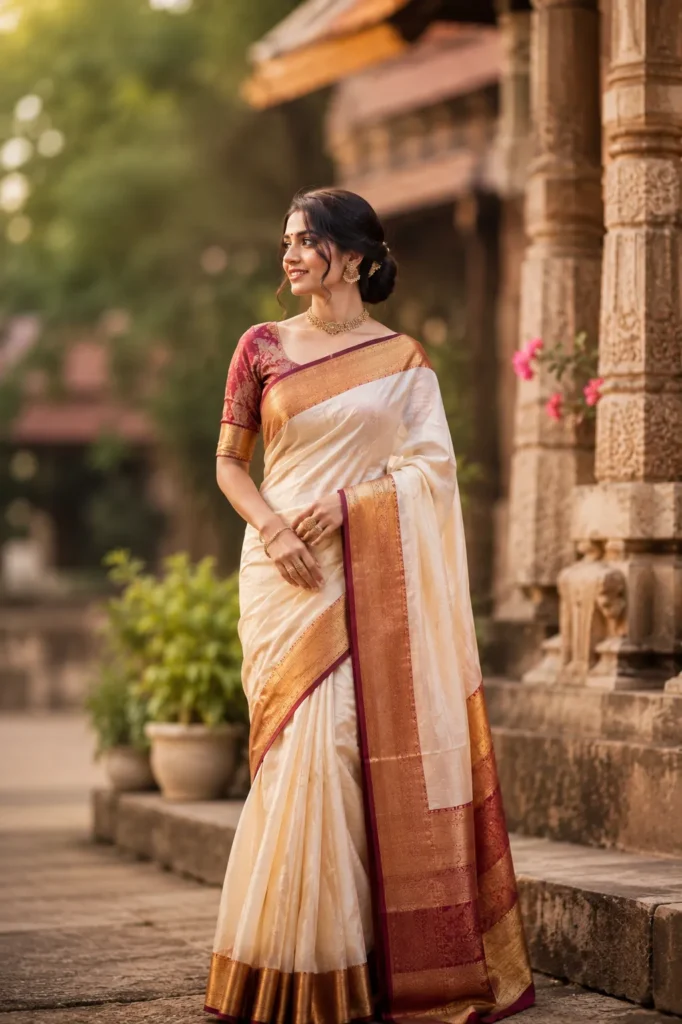
Shallow depth of field: Only the product is sharp; the background is soft and blurry (this blur is called “bokeh”). This makes the product pop out and feel premium. It’s great for lifestyle shots like a model wearing a saree with a blurred background because it removes distractions and pulls the eye straight to the subject.

Deep depth of field: Everything in the photo is sharp and in focus, from front to back. This is used for “packshots” (plain, catalog-style product photos) where the customer needs to see every detail clearly like the full texture and pattern of a saree laid flat.
Visual flow
What it means: This is about guiding the viewer’s eyes to look exactly where you want them to look, using lines, angles, and positioning within the frame.
Leading lines: Any line in the photo (a road, a fabric fold, an arm, a border pattern) that naturally points toward the product. The eye tends to follow lines, so if a saree’s pallu drapes diagonally toward the model’s face or the product’s key feature, it pulls attention there.
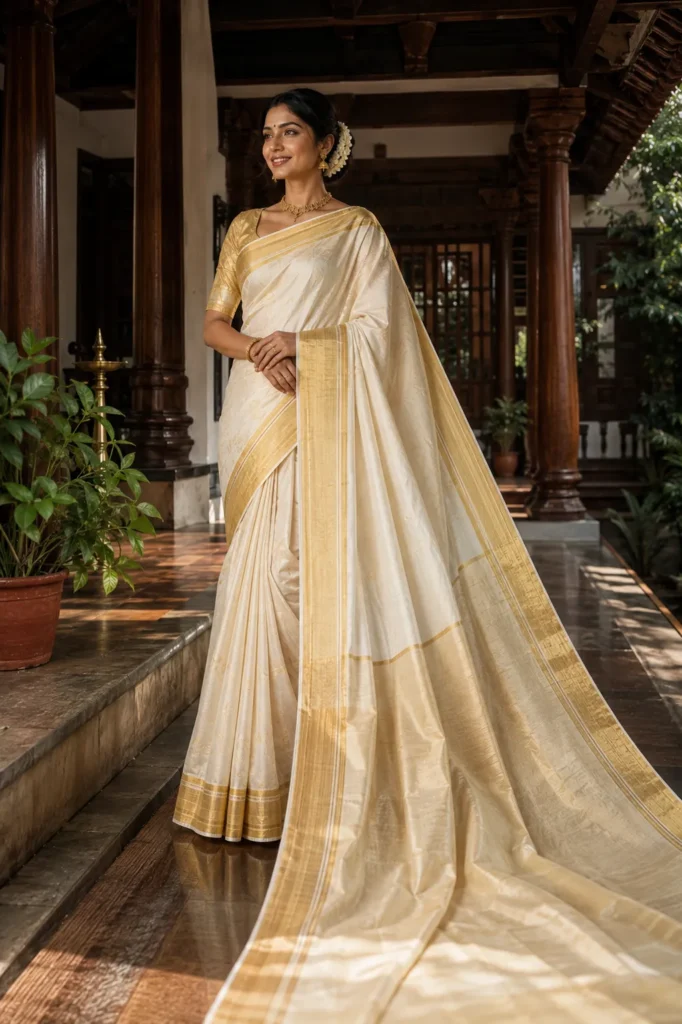
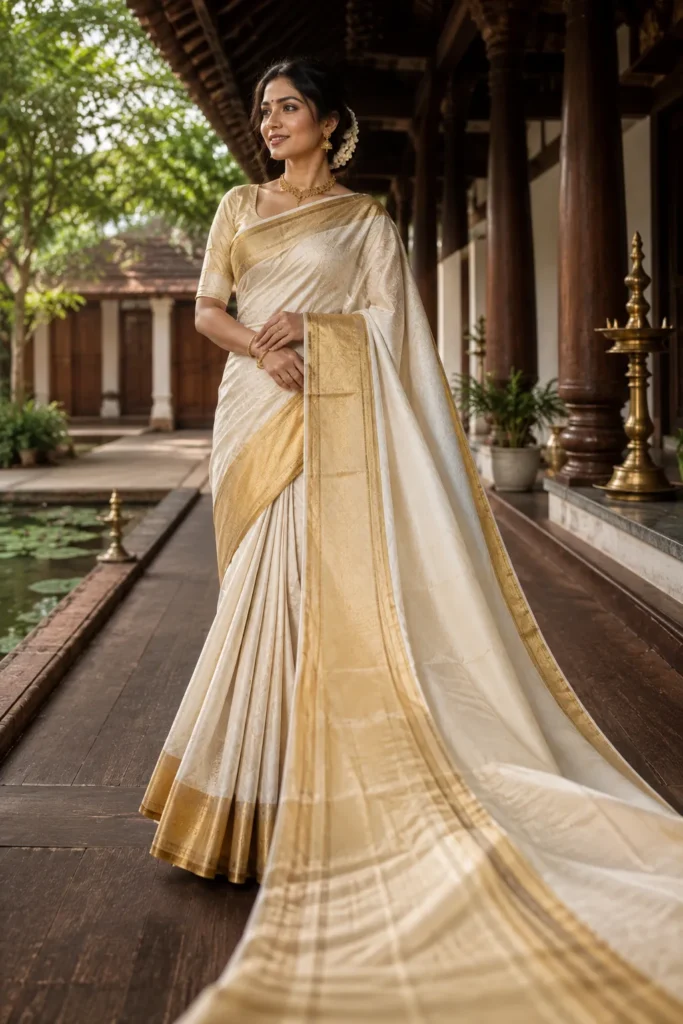
Direction/angle of the product: Even small choices matter for example, if a shoe or bottle is angled slightly to one side rather than facing dead straight, it can feel more dynamic and directs the eye along its length.


Framing: Using other elements in the shot (like a doorway, an arm, drapery) to “frame” the product and box the viewer’s attention around it, similar to a picture frame.
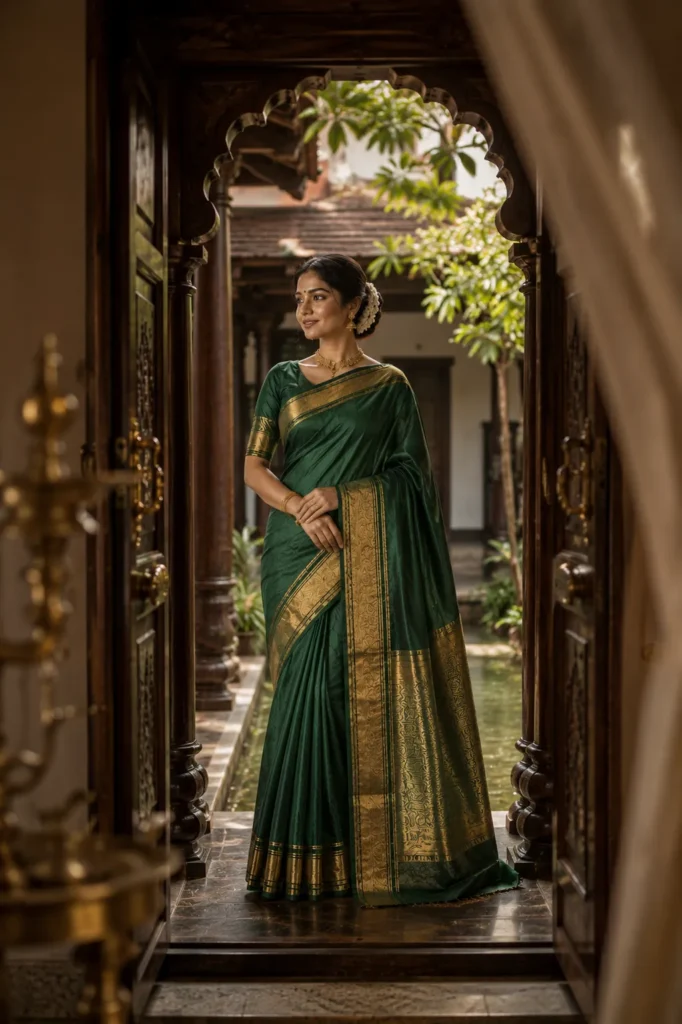
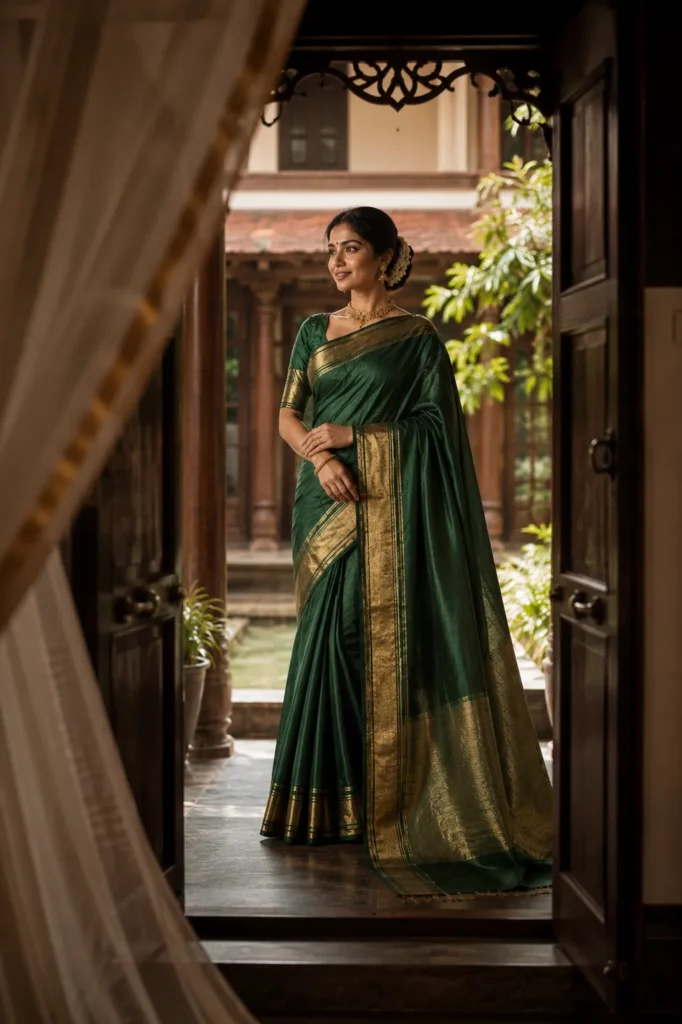
It helps to shoot the same product from several angles and compositions, then pick the strongest one afterward rather than trying to get it perfect in a single shot.
Essential Equipment
You don’t need a professional studio to get started, but the right tools make a big difference.
Camera: A DSLR or mirrorless camera gives the most control over focus, exposure, and depth of field. A modern smartphone camera can still produce solid results, especially for lifestyle shots, and is a reasonable place to start if budget is tight.
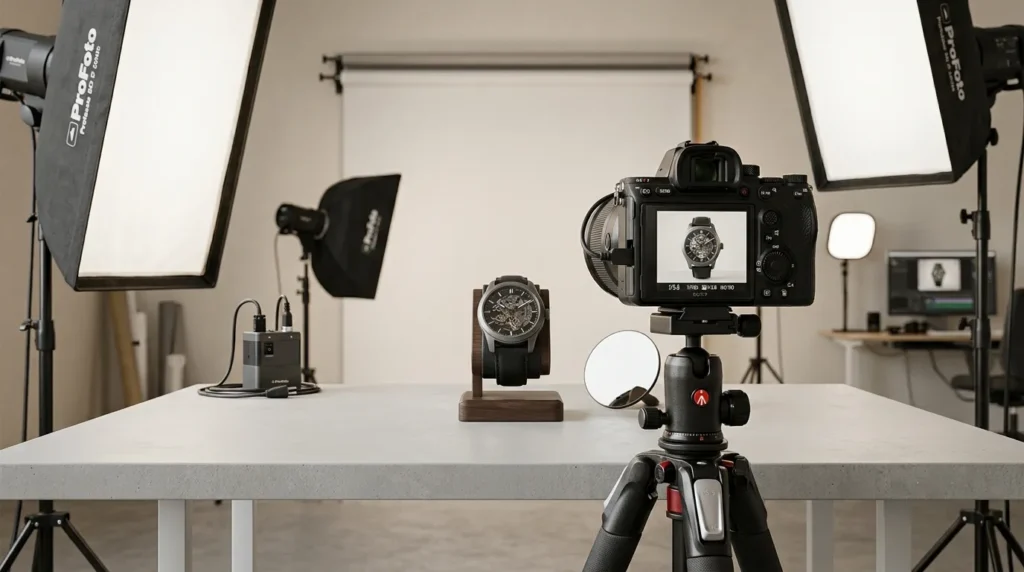
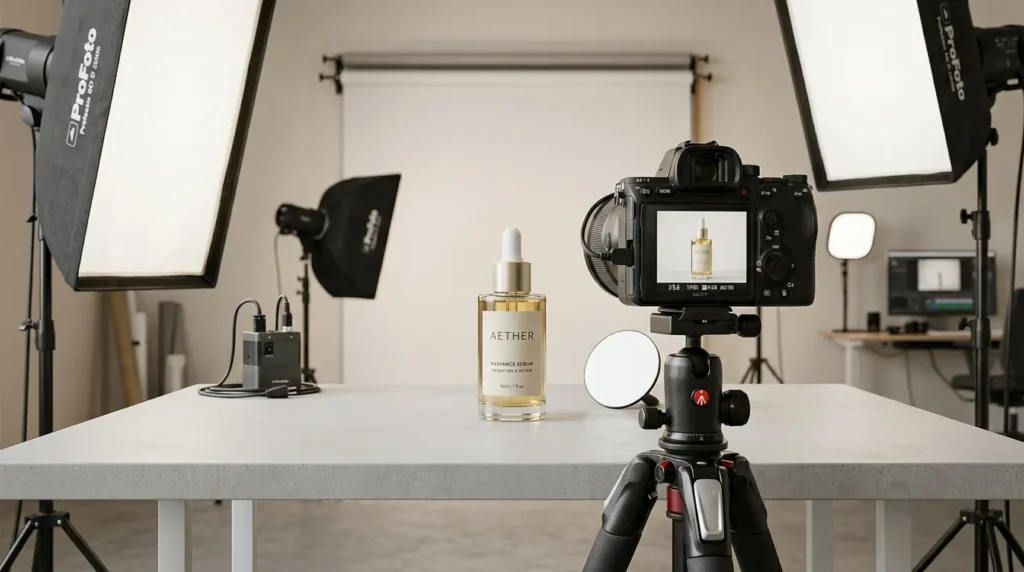
Tripod: Keeps the camera steady and shots consistent from one product to the next this matters more than most people expect, since even small shifts in angle between shots make a catalog look inconsistent.
Lenses: A macro lens is ideal for close-up detail shots that show texture and fine features; a standard zoom lens works well for general product and lifestyle shots.
Light tents and softboxes: A light tent diffuses light evenly around small products and is especially useful for jewelry, cosmetics, and other reflective items. Softboxes help control artificial lighting for larger products or full setups.
You don’t need to buy everything at once. Start with what you have even a smartphone and a window and add equipment as your product catalog grows and photography becomes a bigger part of your workflow.
The Product Photography Workflow
A consistent process saves time and keeps your photos looking uniform across your entire catalog.
- Pre-shoot planning. Build a shot list for each product which angles, which shot types (packshot, detail, lifestyle) you need before you start shooting. This prevents missed shots and repeat sessions.
- Product inspection and cleaning. Check for dust, fingerprints, wrinkles, or damage before every shot. These small flaws are hard to fix in editing and much easier to fix before you press the shutter.
- Tethered shooting. Connect your camera to a laptop or monitor so you can review photos at full size as you shoot. This catches focus issues, awkward angles, or lighting problems immediately, instead of after the shoot is over.
- Post-production. Retouch photos to remove blemishes, adjust color balance, and clean up backgrounds. Keep edits realistic over-editing can misrepresent the product and lead to returns.
- Image optimization. Resize and compress final images so they load quickly without losing visible quality. Large, unoptimized images slow down your website and hurt both user experience and SEO.
Following the same workflow for every shoot is what keeps a growing product catalog looking consistent, even if different people are handling the photography over time.
Tools to Manage Your Product Photography
As your catalog grows, managing photos manually gets harder. These tools help:
WooThumbs: A WooCommerce plugin for displaying multiple product images and zoom galleries
Dash: A digital asset management tool for organizing and storing large photo libraries.
Adobe Photoshop and Lightroom: Industry-standard tools for retouching and color correction.
Soona: A studio-as-a-service option for businesses that want professional shots without building an in-house studio.
Final Thoughts
Product photography isn’t a one-time task it’s a system. Good lighting, thoughtful styling, and solid composition form the foundation, but the right equipment, a repeatable workflow, and platform-specific optimization are what keep your photos consistent as your store grows. Get these pieces right, and your product photos will do what they’re supposed to do: help customers buy with confidence.
